Cart66 comes with a custom post type for products. The Cart66 Product post type serves a couple of purposes both for presentation and some behind the scenes stuff. By default, the product pages are presented with an image gallery in the top left, the Add to Cart button in the top right, and the page content below. This provides a really nice, clean layout for your product pages without requiring any additional plugins or coding. Sometimes, however, you want to layout the page yourself. We just released a new feature to make Cart66 product pages even more flexible. You can now choose the default layout that shows the built-in image gallery and product form, or you can turn all that off and lay everything out exactly like you want it. Let’s take a close look.
The Default Layout
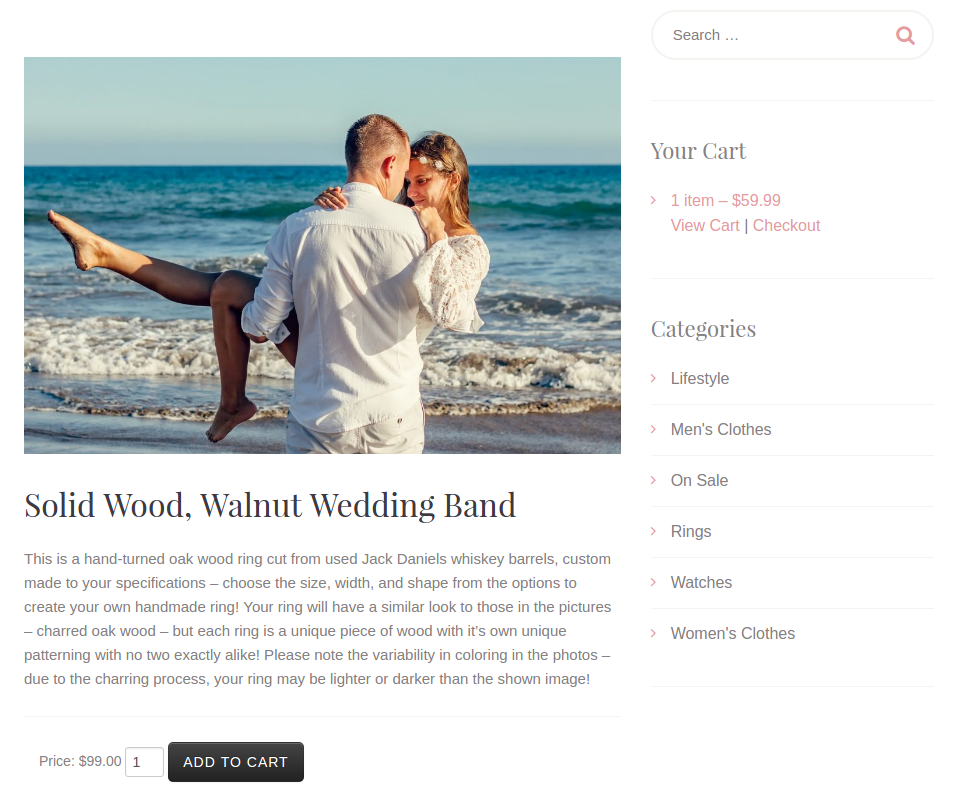
By default, when you create a Cart66 product, the page layout looks like this.
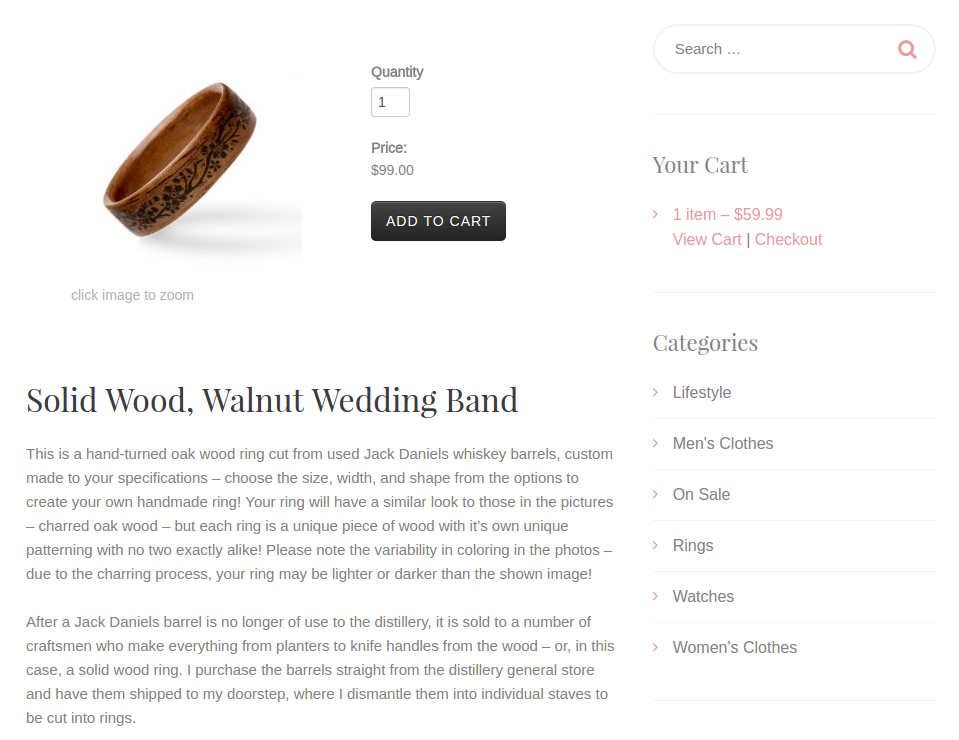
This default layout uses the built-in Cart66 image gallery which can display up to 5 product images. The image gallery is positioned at the top left. The product form is next to the gallery at the top right. The rest of the page is devoted to content about the product which is managed with the standard WordPress page editor. Just like with any WordPress page, from the page editor you can add written copy and images as well as embed audio and video. Sometimes, however, you just want more control. For example, maybe you want do use a different image gallery plugin so you can display slider of product images across the top of the page.
Turning Off The Default Layout
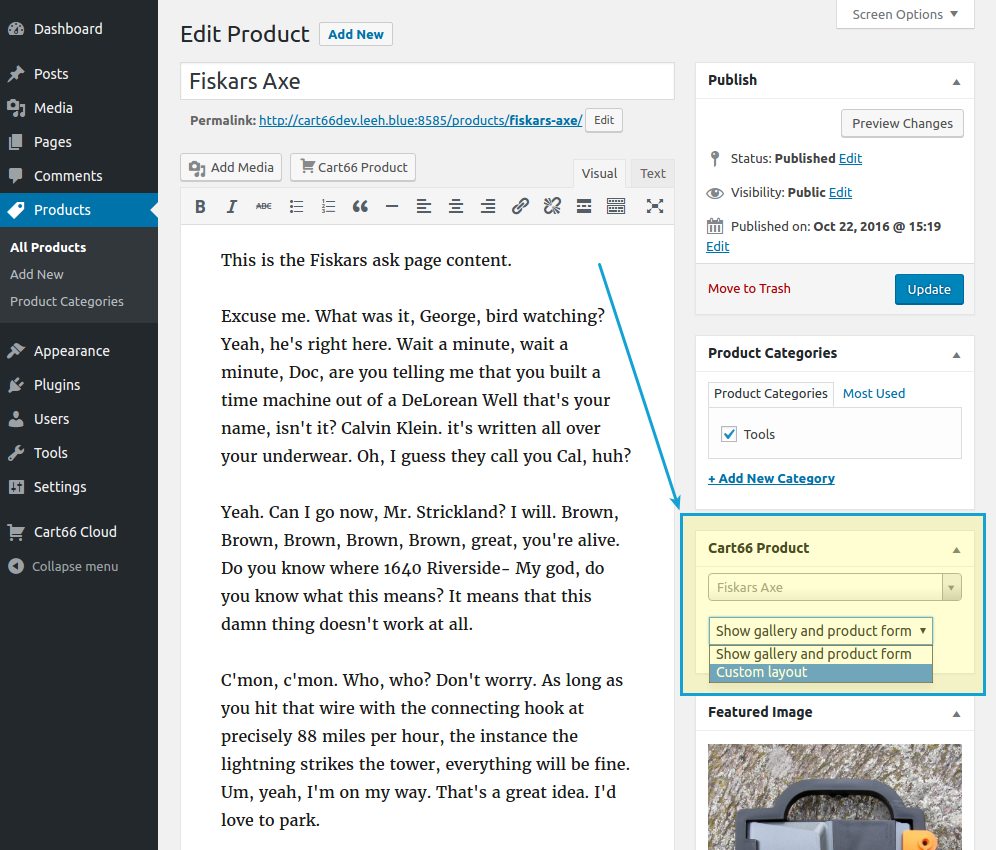
Now, in your WordPress admin, you can choose whether or not you want Cart66 to show the image gallery and product form at the top of your product page. This is a per-product setting so you can have some pages use the default layout and other product pages can have a customized layout.
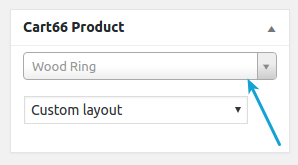
From the Cart66 Product screen in the WordPress admin, you can choose between:
- Show gallery and product form
- Custom layout
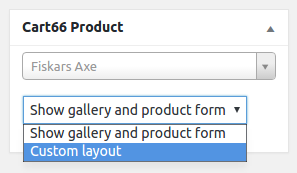
If you select Custom layout, the image gallery and the product form will not be shown at all. The page will appear blank so you can use your own image gallery plugin and put the product form anywhere on the page you’d like using the Cart66 Product shortcode.
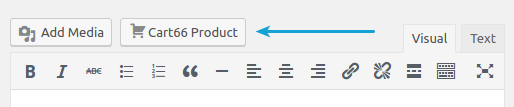
When you select Custom layout you are free to make the page look however you’d like. For example, you might add an image to the top of the page and then place the Add to Cart button beneath your product description like this.
Why Use The Cart66 Product Post Type?
You may be thinking, “Why not just create normal WordPress Pages for all my products?” That would give you the same flexibility over the design and layout. But, there are some things going on behind the scenes when you use the Cart66 Product post type.
The Product post type has a drop down where you select which product you are going to be describing on the page. The price of the product and whether or not it is on sale is stored in your secure Cart66 Cloud account. When you select the product in the Cart66 Product meta box, the name, price, and other information about the product gets cached locally in WordPress for use with the Cart66 Product Catalog shortcode.
Product Catalog and Featured Images
The Cart66 Product Catalog shortcode is a very flexible shortcode that you can use to show specific groups of products. You can show all the products in your store. Show a list of all the products in a particular set of product categories. You can even set up a product category called Featured and use the product catalog shortcode to list all your featured products.
As long as you have the Cart66 Product meta box set to the product you are using the page to describe, the product catalog shortcodes will all work as expected.